Vue中接入和风天气
AI 摘要鱼粮不足,AI 今天先歇着 · 正文在下面
简介
和⻛天气是中国领先的气象科技服务商、国家高新技术 企业,致力于运用先进气象模型结合大数据、人工智能 技术发展智慧型气象服务。
它提供了各种查询天气相关数据的 api,为开发天气相关应用提供便利。
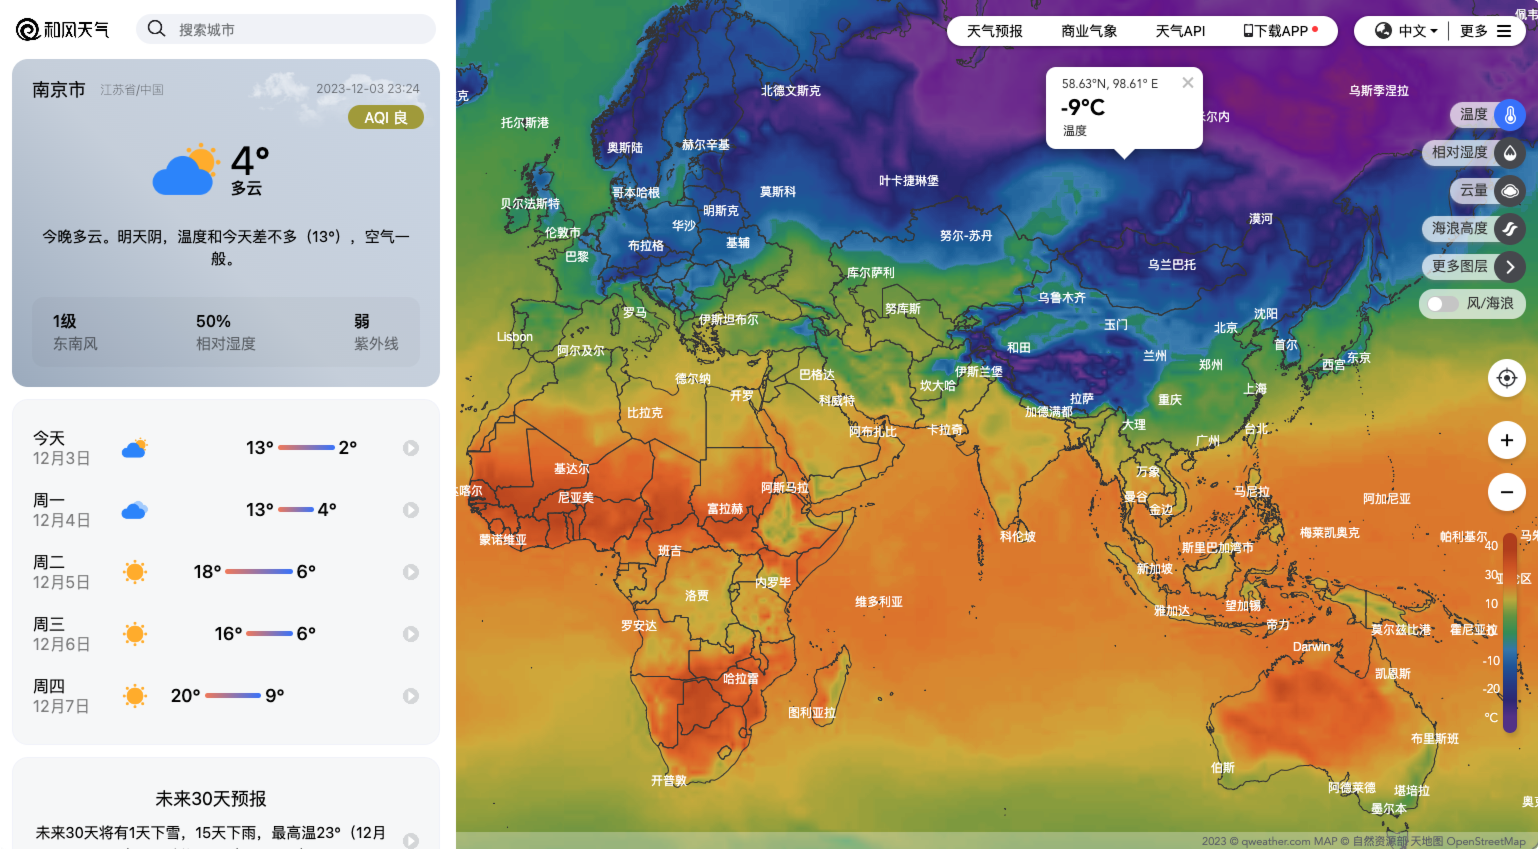
1、访问平台
首先我们访问和风天气插件网页,选择自己需要的插件,在这之前需要先登录和风天气的开发者账号。
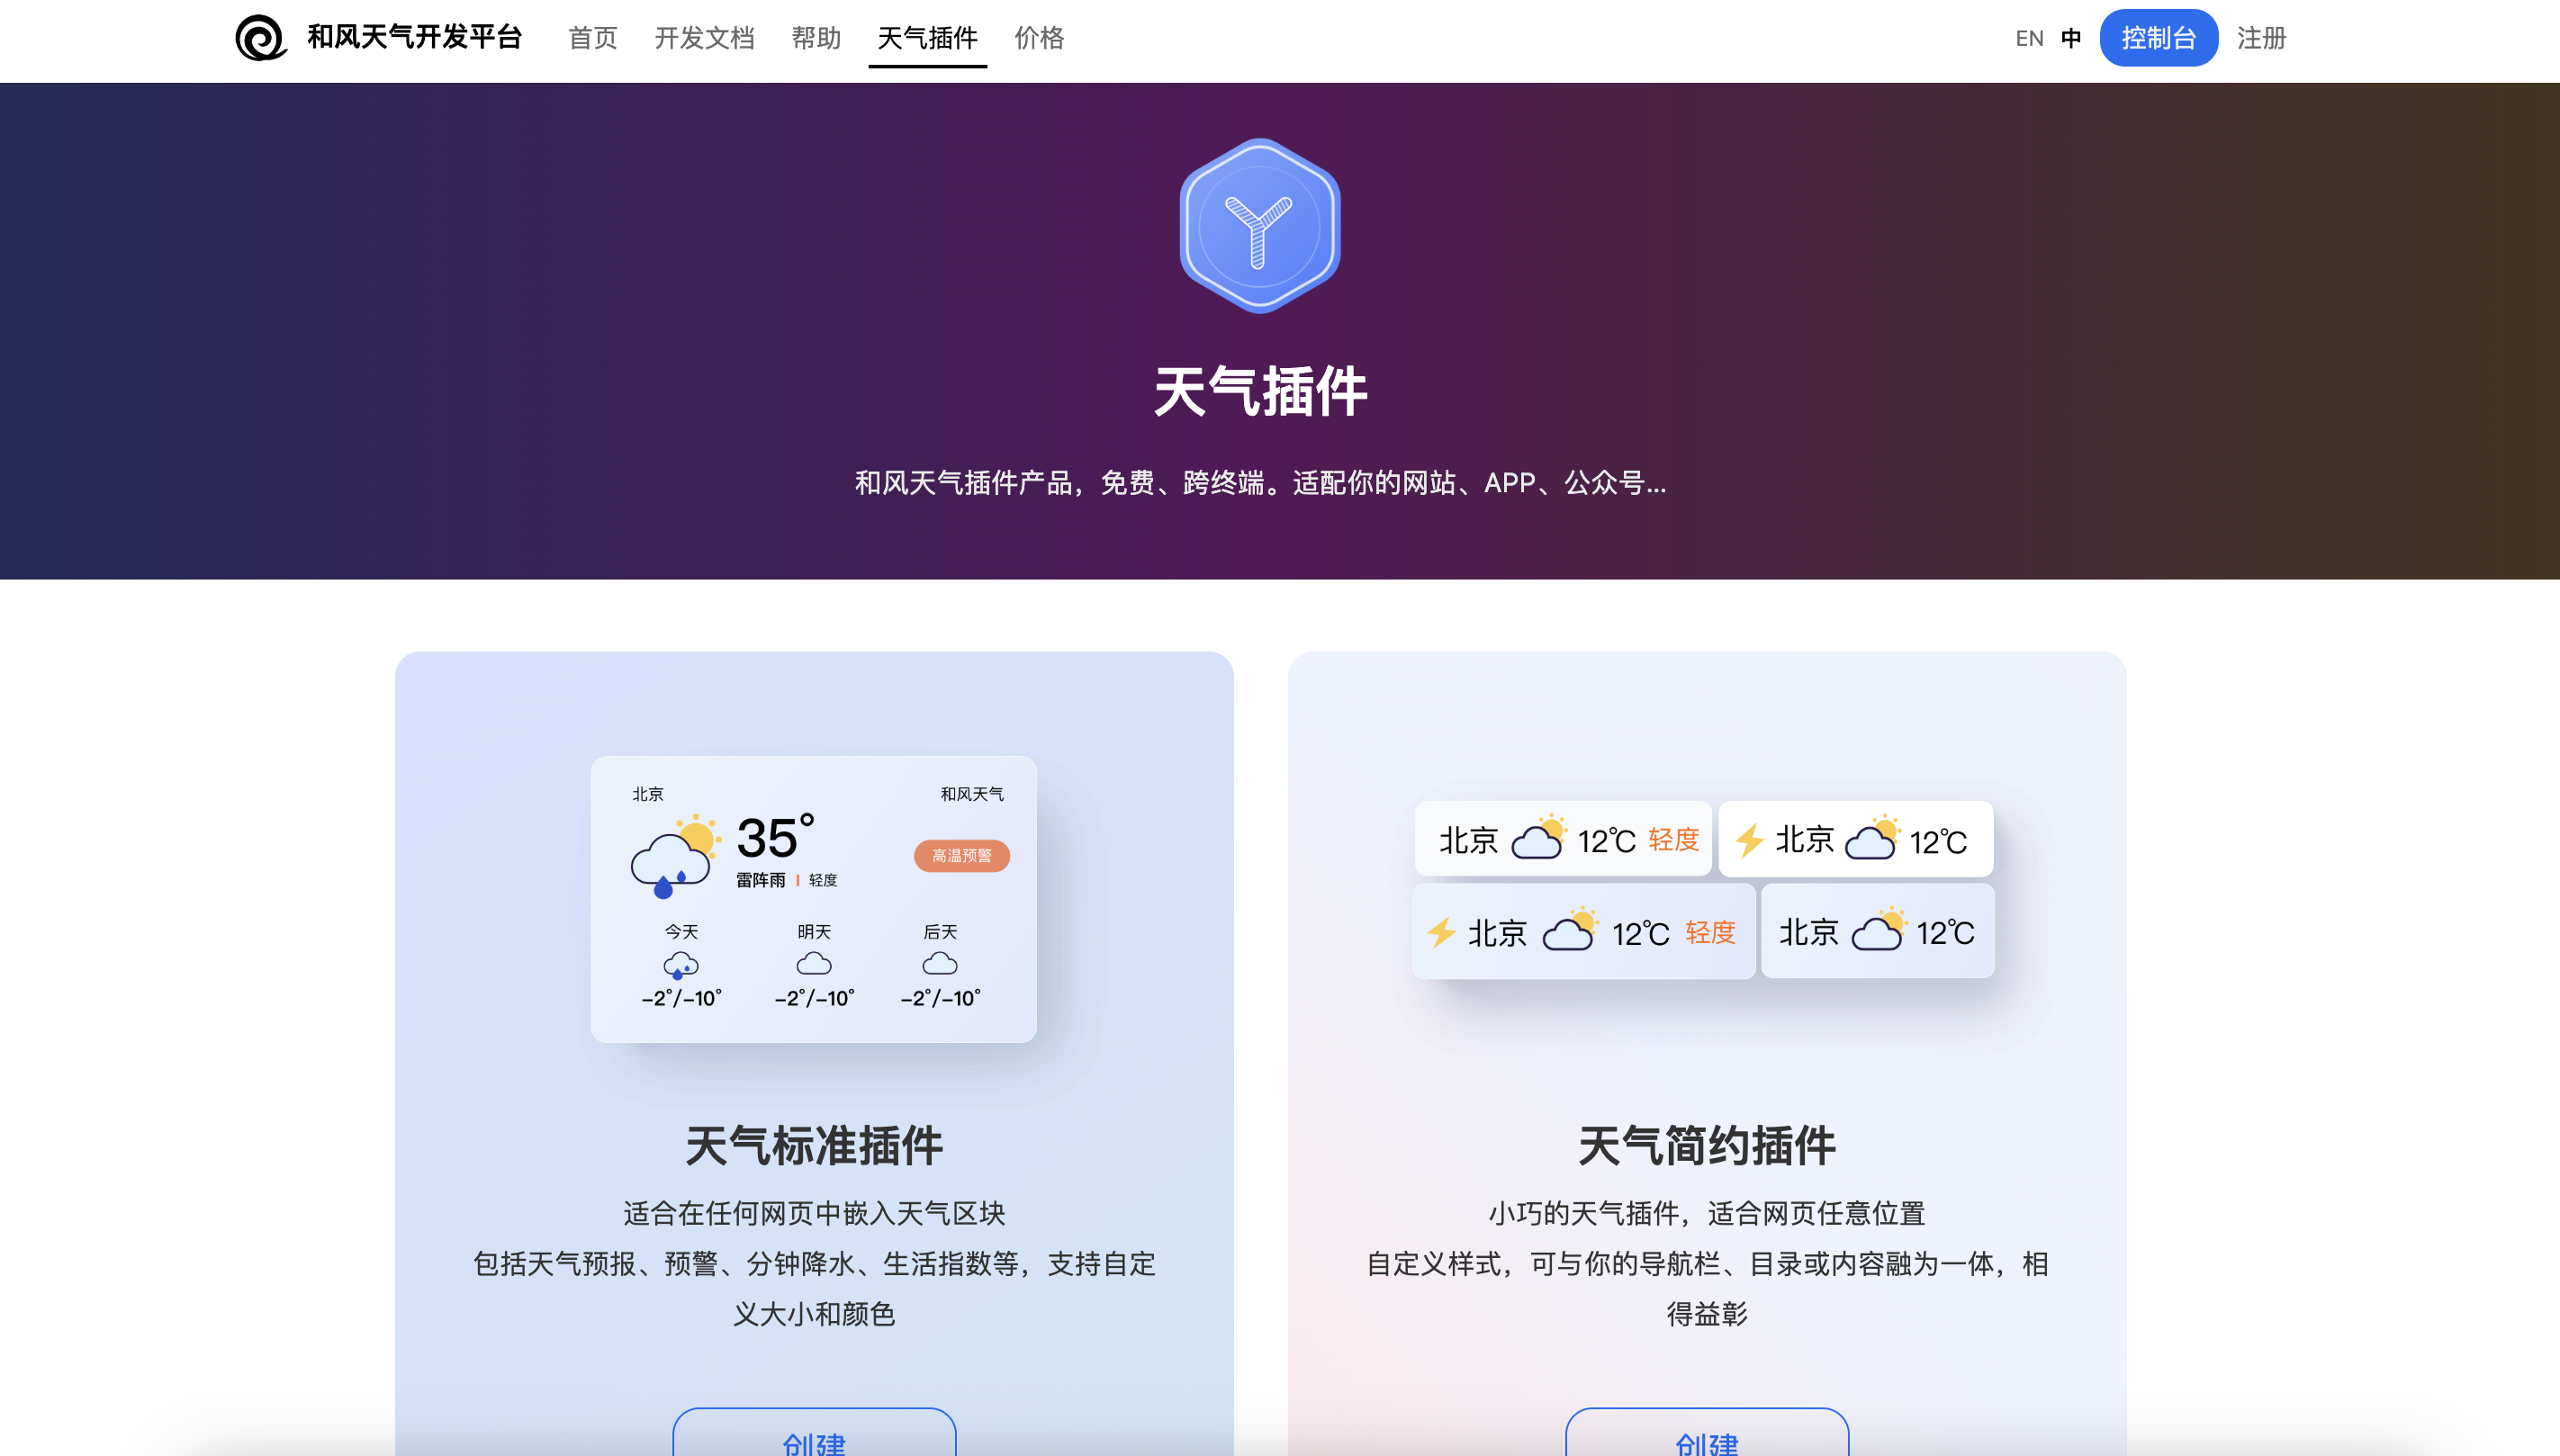
2、选择插件
这里我选择了简约版的插件,右边可以调整布局样式。
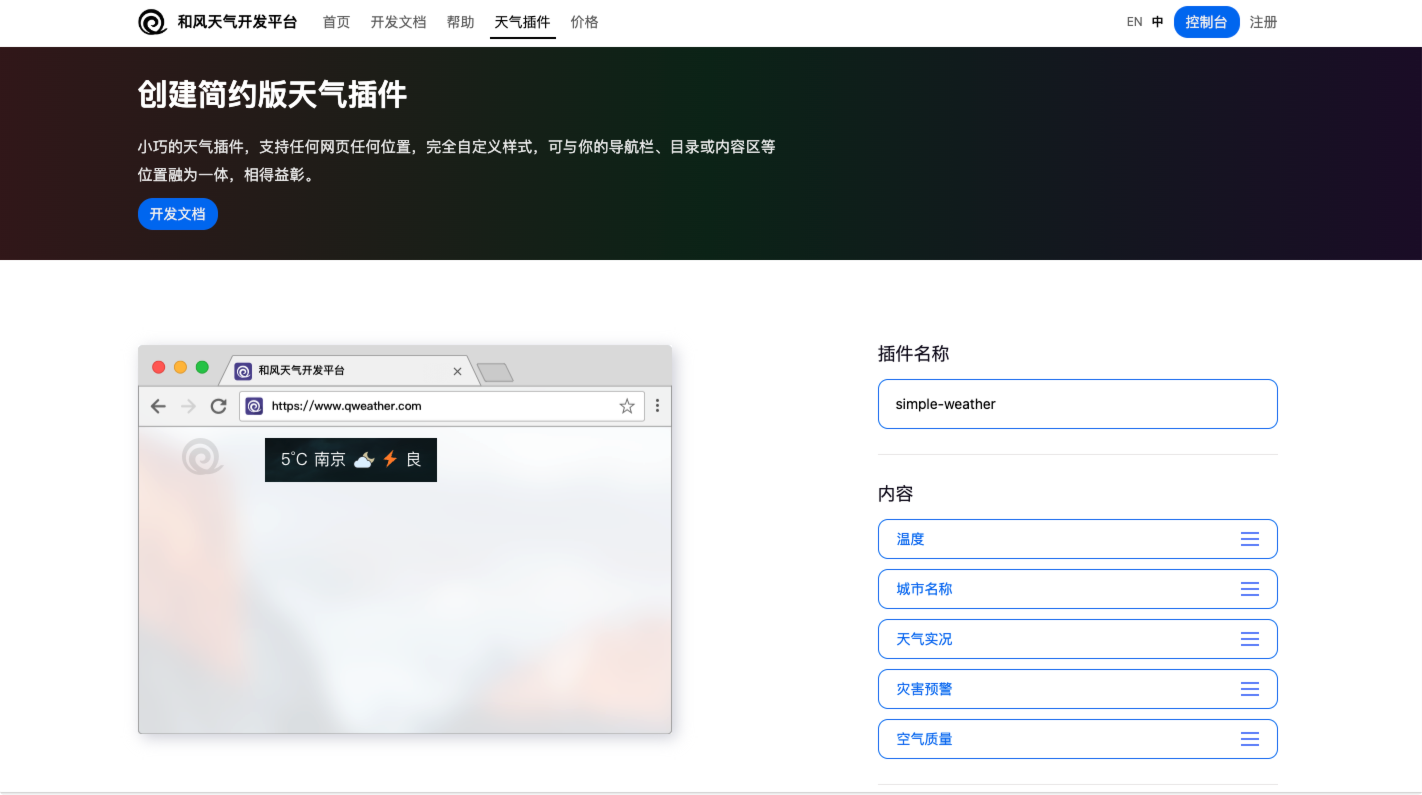
最后点击生成代码。
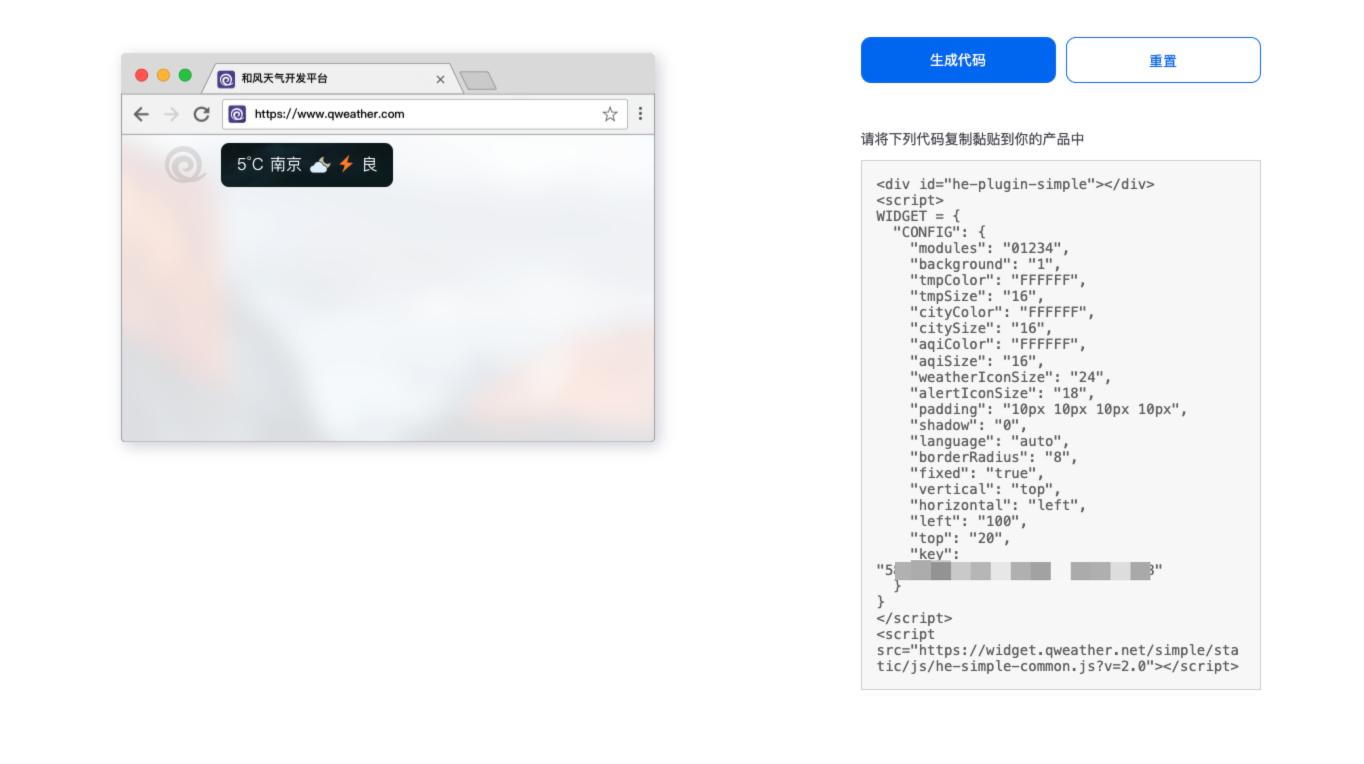
3、使用插件
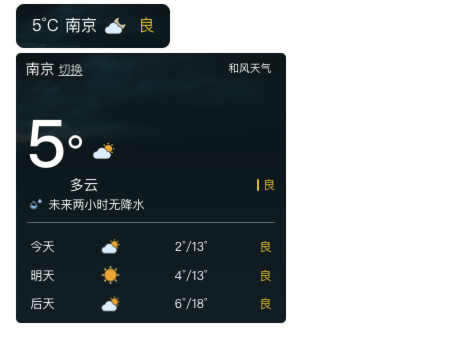
复制上面生成的这段代码,我们先创建一个 html,粘贴到里边看看效果。
html
<div id="he-plugin-simple"></div>
<script>
WIDGET = {
  "CONFIG": {
    "modules": "01234",
    "background": "1",
    "tmpColor": "FFFFFF",
    "tmpSize": "16",
    "cityColor": "FFFFFF",
    "citySize": "16",
    "aqiColor": "FFFFFF",
    "aqiSize": "16",
    "weatherIconSize": "24",
    "alertIconSize": "18",
    "padding": "10px 10px 10px 10px",
    "shadow": "0",
    "language": "auto",
    "borderRadius": "8",
    "fixed": "true",
    "vertical": "top",
    "horizontal": "left",
    "left": "100",
    "top": "20",
    "key": "你的 Key"
  }
}
</script>
<script src="https://widget.qweather.net/simple/static/js/he-simple-common.js?v=2.0"></script>使用效果
4、Vue中使用
将其抽取成组件,比如我这里是叫simple-weather。
html
<template>
  <div id="he-plugin-simple"></div>
</template>
<script>
export default {
  name: "simple-weather",
  created() {
    this.initWeather();
  },
  methods: {
    initWeather() {
      window.WIDGET = {
        "CONFIG": {
          "modules": "01234",
          "background": "5",
          "tmpColor": "FF9900",
          "tmpSize": "16",
          "cityColor": "EEEEEE",
          "citySize": "16",
          "aqiColor": "D9D9D9",
          "aqiSize": "16",
          "weatherIconSize": "24",
          "alertIconSize": "18",
          "padding": "15px 10px 10px 20px",
          "shadow": "0",
          "language": "auto",
          "borderRadius": "8",
          "fixed": "false",
          "vertical": "top",
          "horizontal": "left",
          "key": "你的 Key"
        }
      }
      const script = document.createElement('script')
      script.src = 'https://widget.qweather.net/simple/static/js/he-simple-common.js?v=2.0'
      document.body.appendChild(script)
    }
  }
}
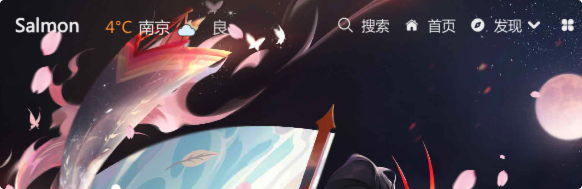
</script>在需要的地方使用该组件即可,当前记得注意下层级关系,防止被遮住。上边 Config 这么多参数,其实自己看名字或者慢慢调也大概能知道这些参数的作用。
评论
0 条—
还没有评论,来说第一句